8 Ways to Remove a Background from an Image on Your iPhone
Wondering how to remove the background from your iPhone photos? We’re not surprised—there are so many benefits to having control over editing and removing the background of your photos.
Whether you want to layer objects over a new background, create a collage by combining several images, or use transparent backgrounds for objects on your website for a flawless design—being able to remove the background from your photos makes it all possible.
And the really good news is that background removal is infinitely easier when you have the right tools at your disposal. From iPhone apps to web-based tools, there are so many ways to remove a background from a photo.
Let’s explore some of the top options for iPhone users, including step-by-step instructions to show you how they work!
Reasons to Remove the Background from a Photo
There are a few different reasons why someone might want to remove the background of a picture.
Reason #1: Removing the background to remove distractions.
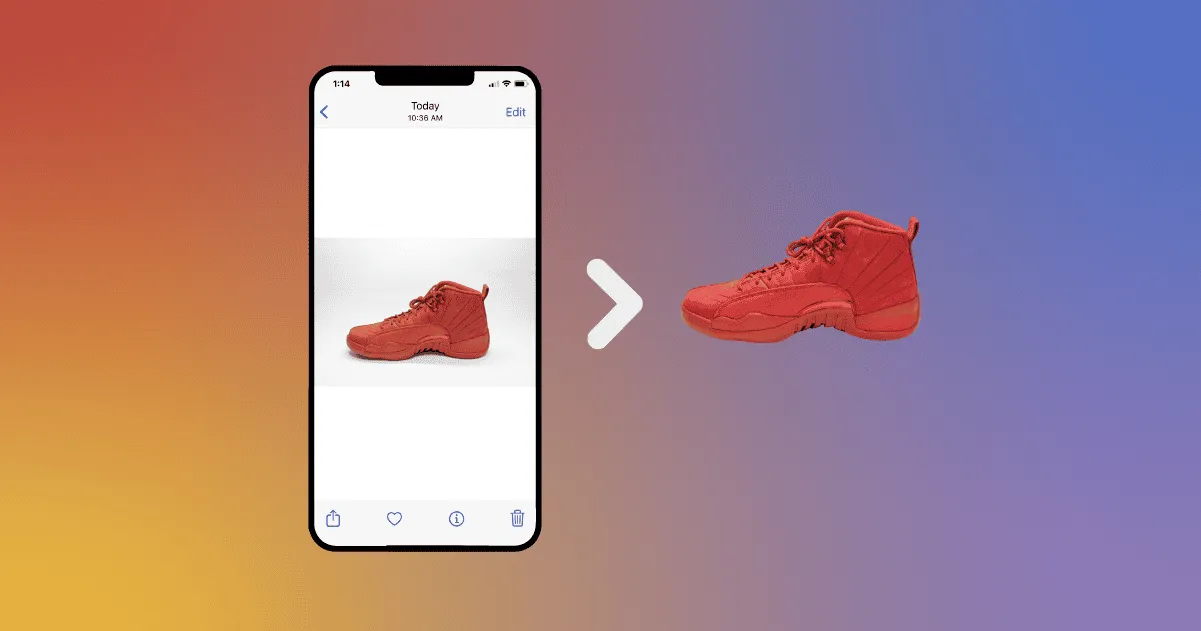
In some cases, you might want to swap out a busy background for something simpler and less distracting. Removing the background and leaving it transparent or choosing something plain (like a white background) can draw more focus to the subject or item in your image.
For example, you might remove the background from a product photo when you want to keep the emphasis on the item (and not on its surroundings).
Reason #2: Removing a background to replace it with a different photo or backdrop.
Removing the original background of an image also creates an opportunity to add more visual interest. For instance, you could add contrast by changing the background from something neutral to something bold.
Or you could prep a photo for social media by swapping out a plain background for something more fun or flashy—especially if you want to catch scrollers’ eyes and draw attention to your post.
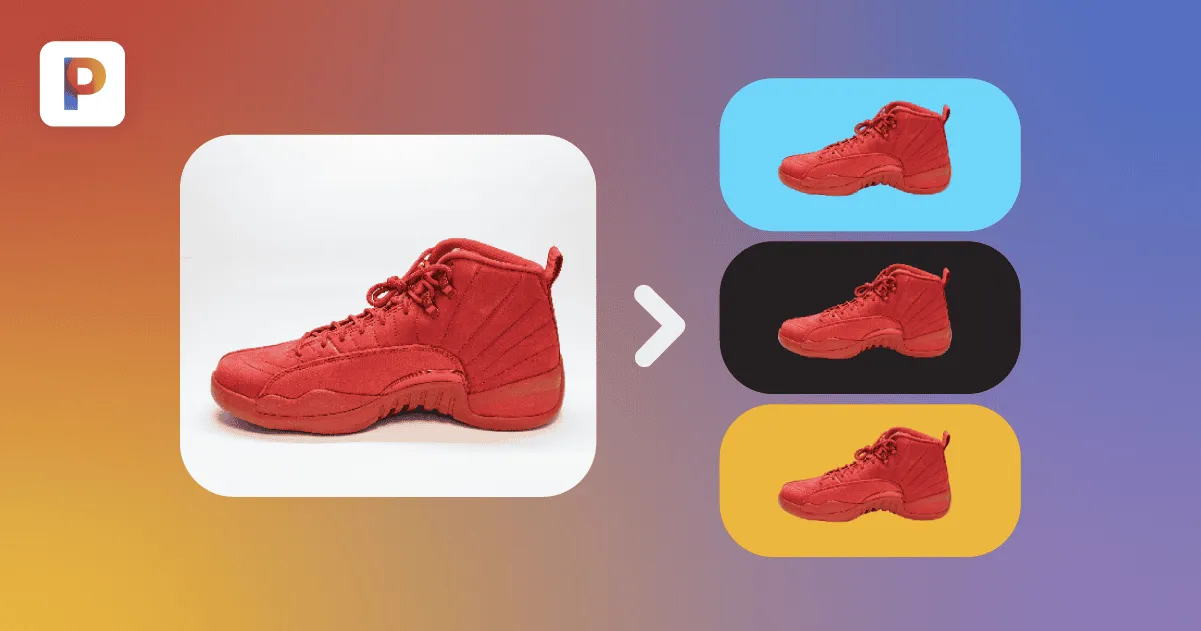
Reason #3: Remove original backgrounds to create a matching set.
Want to create a series of visuals with matching backgrounds? Well, the first thing you need to do to make that happen is to remove the original backgrounds.
Then, you’re free to add new backgrounds to color coordinate images on your website or Instagram feed. Choose matching colors or themes to make it clear that several images belong to the same product line, photo series, or promotion.
Reason #3: Removing a background to create a unique cut-out.
When you remove the background from a photo or replace it with a transparent image background, you’re left with a PNG or JPEG cut-out of the object. And this opens a whole new realm of design possibilities!
For instance, you could superimpose your cut-outs over any background, photo, or pattern for use in a promotional poster, artsy social post, or your ecommerce store.
How to Remove the Background from an iPhone Photo
Whether you want to remove an unflattering background to replace it with something sleek or create a transparent background for your photo subject, there are a few different ways to do so. Today, we’ll look specifically at the best options for iPhone users.
Pro Tip: Before you test out any of these photo-editing options, it’s a good idea to check that your device is running the latest version of iOS. Otherwise, it might not be compatible with certain apps or tools.
Ready? OK! Here’s a look at some of the best photo editing solutions for iOS users who want to remove a background from any image—including some suggestions for iPhone, iPad, and even web-based editing tools that work on Chrome and Safari.
Download a Background Remover Shortcut
You can create and download shortcuts on your iPhone using the Shortcuts app. This shortcut uses the Adobe API to detect and remove backgrounds from pics on your phone. Unfortunately, there’s no way to refine or clean up the edges if the shortcut doesn’t edit your photo perfectly.
Here’s how to set up and use this shortcut on iPhone:
1. The first step is to make sure you have the Shortcuts app installed on your phone. (It comes preloaded on iPhones, but if you’ve never used it, you may have deleted it to save space.)
2. You’ll likely need to grant permission to enable the use of third-party shortcuts. To do so, open Settings > Shortcuts and tap the toggle to Allow Untrusted Shortcuts.
3. Next, download the Background Remover shortcut from author @TarasovSM.
4. When the Add Shortcut popup appears, rename the shortcut (in the “When I run” box) to something relevant and easy to search, like BG Remover or Background Remover.
5. Scroll down a bit and tap the Add Untrusted Shortcut button to confirm.
6. Now, when you want to remove a background from a photo, open the Shortcuts app and tap on the Background Remover Shortcut.
7. Choose a picture from your library. You may need to grant permission if you get a pop-up from Adobe.
8. The shortcut will remove the background from the photo you’ve selected. Once it’s ready, you’ll see a cut-out with a transparent background.
9. Tap on the image, click the Share button, and then Save Image to your photos. Note: Do this before you tap Done on the photo—or your edits will not be saved.
Note: One downside to this option is that third-party Shortcuts tend to be updated less frequently than apps found in the App Store. Perhaps because there’s less competition and less demand for Shortcuts—which is still a relatively new feature.
Remove a Background Using Preview on Your Mac
This isn’t technically a tool for editing photos on your phone, but it works well if you upload your iPhone photos to your computer (or sync them across iCloud).
If you use a Mac computer, you might be familiar with Preview for taking screenshots or marking up documents—but it also offers some pretty interesting image editing features. In fact, you can use the Preview app and a built-in tool called Instant Alpha to remove photo backgrounds.
Here’s how you can use Preview to delete a photo background:
1. On your Mac, open the photo you want to edit in the Preview app. You can import a photo from your iPhone to iCloud or choose any image from the Photos app on your computer.
2. Click the Markup icon to reveal the toolbar if it’s not already visible. (The Markup icon looks like a pen tip.)
3. Click the Instant Alpha button. (This is the one that looks like a magic wand.)
4. Press and drag your cursor over part of the background area you’d like to remove. This tells Preview that any adjacent pixels in the same color should be selected. As you move the mouse around, the selected area will be highlighted in pink.
5. Press the Delete key to remove the selected pixels from your image.
6. Repeat steps 4 and 5 as necessary until the background is fully removed. Since Preview only deletes parts of the background that match the color of the area selected, you may need to repeat this a few times to remove the entire background.
Remove Image Backgrounds with the Pages App
If you have an iPhone, iPad, or Mac you can remove an image background using the Pages app. Pages is a pre-downloaded app for Apple devices, so you should already have it on your device (and if not, it’s free to re-download).
Although Pages is primarily designed for designing and editing text-based documents, you can upload and edit images on it, too. Like Preview, Pages lets you use the Instant Alpha tool to remove selected pixels.
Here’s how to get rid of a photo background using Pages on your iPhone:
1. Open the Pages app, tap the plus icon (+), and tap Start Writing to start a new project.
2. Tap the plus icon again and select Photo or Video to access your library to choose the image you want to edit.
3. Once the image is added to your document, tap the paintbrush icon to reveal a pop-up menu.
4. Tap Image and then Instant Alpha.
5. Drag your finger over the color you’d like to make transparent. Try to choose a section of the background that is a different color than the object you want to preserve. Like Preview, this works best if the background is largely monochromatic.
6. Repeat step 4 until all of the background pixels are removed (or as close as you can get–since the edge detection on Pages is far from perfect!).
7. Tap Done (or Reset if you make a mistake and want to restart from scratch).
Edit iPhone Photos with Background Eraser: Superimpose
Background Eraser: Superimpose is an iOS app that can help you remove a background from a photo. It works similarly to the Instant Alpha function in Preview and Pages, in that it identifies which areas to erase based on color matching.
It’s free to download from the app store but requires payment to unlock certain features.
Here’s how to use Background Eraser: Superimpose to remove a background:
1. Within the app, tap on the Gallery icon and choose a photo to edit.
2. Tap Crop at the bottom left of your screen. Use the Crop tool to remove any portions of the photo irrelevant to the part you want to edit. (This is an optional step but can make the rest of the process easier, depending on how busy your image is.)
3. Click Erase (next to Crop) and then select Target Color from the eraser menu.
4. Next, tap on a part of the image that matches the most dominant color in the background. For example, if the photo is a pair of white shoes on a brown hardwood floor, you would tap on the wood to tell the app you want everything in that shade of brown to be deleted.
5. If the colors of the object and the background are too similar, the app might delete part of the object. In this case, you’ll have to tap undo and slide the Threshold bar back to the left to start again.
6. To get a cleaner background removal, tap Target Area to select and remove specific spots of the background that have been left behind. Again, you can slide the Threshold bar to the left if you notice too much of the image disappearing.
7. Finally, tap the Erase tool at the bottom left of your screen. Use the manual eraser to clean up any leftover pieces of the background.
Use PhotoScissors for iOS
Available as an app on iPhone and iPad, the PhotoScissors app also has a desktop version for Mac users who want a web-based solution. This is a decent option for simple background editing jobs but isn’t ideal for detailed cut-outs.
But there is a catch: You can’t actually save any of your cut-outs without paying for a subscription. Using a free version of the app, you get 5 credits to start (1 credit is good for editing 1 image)—but you still have to pay if you want to save or download any of your edits.
How to remove the background of a photo on iPhone with PhotoScissors:
1. Within the app, click on the folder icon to choose a photo to upload.
2. The app applies a green mask to any object in the foreground. Note: anything highlighted by the green mask will become part of the cut-out; everything outside the green mask will be deleted when you remove the background.
3. If the app doesn’t apply the mask accurately on its own, you can use your finger to draw over any details you want to highlight as part of the cut-out.
4. When you’re happy with how the mask is applied, click Next to see the image without the background.
5. Unfortunately, you can’t save your PhotoScissors projects without paying for a subscription.
Use a Web Tool Like remove.bg
If you don’t want to download an app to your phone, a web-based solution like remove.bg might be closer to what you’re looking for. You can simply navigate to the website and use the online tool to remove a background from any photo on your iPhone.
Here’s how you can use remove.bg on your iPhone:
1. Start by opening remove.bg in a browser on your phone.
2. Tap on Upload Image to add a photo from your library (or take a new image with your phone).
3. Sit back and relax as the web tool attempts to remove the background from your photo.
4. You should end up with an object over a transparent (checkered) background. Download it to your phone. (Depending on your browser, you may need to confirm the download again as a security feature)
5. Go to your Downloads folder on your phone and save the image to your Photos app.
Try Out Slazzer for Photo Background Editing
As another web-based option, Slazzer is an alternative to remove.bg. It’s free to use and create “preview size” images (which are up to 0.25 megapixels), but you have to register and pay for an account to get full access.
Check out how to use Slazzer for removing a background on your iPhone:
1. Open the Slazzer website on your browser.
2. Upload, drag and drop, or copy the image you’d like to edit.
3. Wait a few seconds for the app to remove the background.
4. Copy or download your cut-out. Note: The resulting cut-out is a free preview-sized image, which you can copy or download for future use.
This is a pretty quick option, but you don’t get access to any additional editing options or a full-sized image without paying for an account.

What Else Do You Want from Your Photo Editing Apps?
As you can see, there are a range of options for anyone looking to edit their iPhone photos. Whether you use an online tool or iOS app, you don’t need professional editing experience or an advanced degree in Photoshop to neatly remove a background from any of your photos.
Now, if you’re just looking for a simple background removal tool, one of the apps mentioned above might be a viable option. However, if you like a solution that goes beyond basic background removal, you might want to consider a photo editor that provides additional features.
For example, you may want to look for a background removal app that offers the following:
- Easily clean up edges around your cut-out to get the perfectly-clean look you want.
- Option to add stickers, text, and frames to your images.
- Pre-loaded with templates for social media, profile pictures, product photos, and more.
- Ability to add and adjust filters and special effects.
- Batch editing so you can quickly remove backgrounds and apply matching effects to multiple images at once.
- Plenty of new backgrounds, designs, and themes to choose from.
- The Easiest Way to Remove an Image Background on Your iPhone
Removing a background from your photo is easy when you just have the right tool.
With Pixelcut, you can remove backgrounds from your iPhone photos in just a few taps. Plus, you get access to a whole suite of advanced editing tools to make your pictures really pop.
Here’s how to remove a background from an iPhone image using Pixelcut in 3 easy steps:
Step 1: Snap or Add a Photo
Start by taking a picture with your iPhone or selecting a photo from your library.
Step 2: Swipe Along the Slider Bar
Here comes the fun part! Move your finger along the slider to remove the background and watch it fade away.
Step 3: Refine Your Edges (Optional)
Want to make additional edits or refine the edges of your object?
Now that you’ve removed the background, you can clean up the edges of your cut-out if need be. Tap Refine to access two editing tools: Erase and Restore.
And voila—you’re done!
Once the background is removed, you’ve got plenty of options in Pixelcut. You can choose a new background, leave it transparent, or play around with more editing features to get the exact look you’re after. Adjust the lighting, brightness, contrast, and more.
Pixelcut is a fast, simple photo editing app for iPhone and Android. It’s so simple to use that anyone can remove a background from a photo without any editing experience.
Whether you want to create collages, social media posts, product photos, or anything else, Pixelcut has the tools and templates you need. With a huge library of backgrounds, professional templates, and advanced editing tools, it’s fun and easy to edit your photos.
Want to start creating smart-looking, professional designs in Pixelcut? Download the app today and see how easily you can remove the background from any images on your iPhone.
Ready to start creating with Pixelcut?
Join more than 70 million small businesses, creators and entrepreneurs that use Pixelcut to grow their business.