How to Increase the Resolution of an Image (With Just a Few Clicks)
“Zoom In. Enhance.”
You know how TV detectives all use the same magic editing tool to turn pixelated security footage into crystal-clear visuals? Have you ever wished you could achieve similar results for a blurry or too-small photograph?
Whether you want to print out a picture from an older digital file, size up product photos for your online store, or identify a mysterious figure in grainy surveillance footage, there are plenty of reasons you may need to “zoom in and enhance” an image.
But the key to effective image enhancement is that it’s not just about making a photo bigger. In order to enlarge a photo without losing image quality, you need to increase the pixel count, too.
So, are you looking to upscale an old photograph or improve a low-resolution image? Need to increase the size of an image without sacrificing quality? Keep reading to find out how to increase the resolution of an image in a few easy steps.
Making an Image Bigger Isn’t the Same as Improving Resolution
The process of increasing image resolution isn’t about simply resizing the image—you also need to ensure the correct pixel density is maintained to avoid blurring. (Otherwise, you’ll just end up with a bigger photo that looks worse than the original image.)
If you want to scale up a photo without losing quality, you need the right image editing tool to pull it off. Depending on your budget and skill level, there are a number of photo editing software options at your disposal.
While we can’t guarantee any of these tools will help you solve a mystery, they will allow you to scale up photo resolution to make for awesome social media posts and more.
Let’s start with a step-by-step overview of the easiest way to increase image resolution: using Pixelcut’s image upscale tool.
How to Increase Image Resolution with Pixelcut
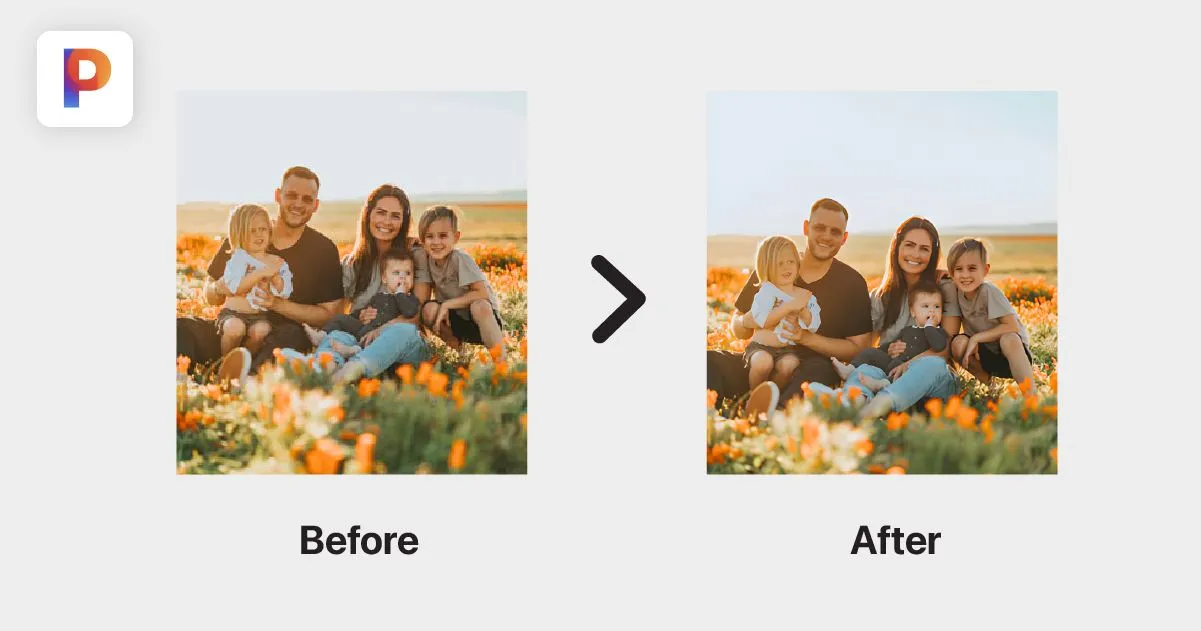
Pixelcut’s AI image upscaler makes it easy to increase image resolution without losing any details. It’s a free tool that you can use to scale up your photos, so you can increase the size without getting a pixelated or blurry result.
Step 1: Upload Your Image
Open Pixelcut’s free image upscale tool and select the image you want to edit. Whether you’re looking to increase the size of a small image file or want to enhance the details of an older photograph, Pixelcut’s online upscaler tool can help.
You can click “Upload a photo” to choose a file from your device or simply drag a photo into the workspace. Our AI photo upscaler supports JPG, PNG, and HEIC image types.
Step 2: Choose Your Upscale Quality
Once your image is uploaded, you’ll be prompted to select an upscale quality. Depending on the desired result, you can scale up your images by 2X or 4X the original size.
Pro Tip: Not sure which size to choose? You can preview different upscale qualities within the tool before choosing which version to download.
Step 3: Let AI Work Its Magic
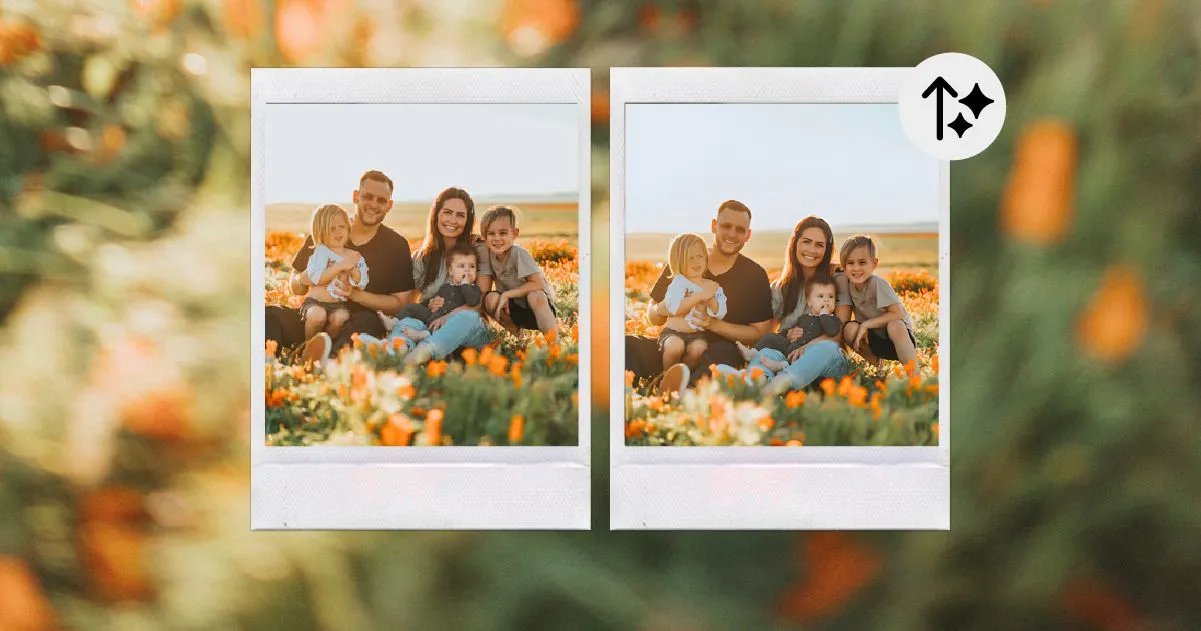
Now for the fun (and easy!) part. Pixelcut uses artificial intelligence to upscale your image—increasing the size while also enhancing the details to prevent pixelation.
Step 4: Download your new and improved image!
Voila! In just a few seconds, your old or low-res image is upscaled and revitalized.
As for what’s next, that’s entirely up to you. Your newly-upscaled image is ready to download or share. Whether you want to share it on social media, update your website, or print a copy—you’ve got a high-resolution version of your favorite image ready to go.
Other Software for Increasing Image Resolution
If you want to compare Pixelcut’s free and easy-to-use photo enhancer with similar solutions, there are a few different tools you can try. Here are some of the most popular options to consider:
How to Increase Resolution with Photoshop (Two Ways)
We couldn’t write an article about image upscaling without mentioning Adobe Photoshop. If you have an Adobe Creative Cloud subscription, you can use Photoshop to increase the dimensions and resolution of an image file.
You can do this either manually by editing image size or using neural filters to automatically increase the size.
Here’s how to manually edit image resolution using Photoshop:
- Launch the program and open the photo you want to edit.
- Select “Image” from the menu bar to reveal a dropdown list.
- Select “Image Size” from the list to bring up a new dialog box.
- Select “Pixels” as the measurement type (from the dropdown menu).
- Edit the values for “Width” and “Height” to increase the number of pixels in your image.
Alternatively, you can use Photoshop’s neural filters to increase image resolution. Here’s an overview to walk you through the process:
- Launch the program and open the image you’d like to upscale.
- Select “Filter” from the menu bar.
- Select “Neural Filters” from the dropdown list.
- Choose “Super Zoom” from the list of neural filters.
- Adjust the slider to increase the image to your ideal size.
Note that although Photoshop does offer loads of editing capabilities, the subscription cost and complexity of learning to use it make it much less accessible than a free tool like Pixelcut.
How to Use GIMP to Increase Image Resolution
GIMP (which stands for GNU Image Manipulation Program) is free open-source software that runs on macOS, Windows, and Linux. Like Photoshop, GIMP offers some powerful editing tools but comes with a steep learning curve.
To edit image resolution using GIMP, follow these steps:
- Download GIMP if you don’t yet have it installed.
- Launch the program and select “File” from the menu bar.
- Click “Open” from the dropdown options and then select your image from your files.
- Next, select “Image” from the menu bar.
- Click on “Scale Image” to open a new dialog box.
- Check that the measurement type is set to pixels. If it’s not, select “px” from the dropdown menu.
- Ensure that the lock icon connecting “Width” and “Height” is in the closed position. This will prevent distortion when scaling the image.
- Within the dialog box, enter the desired number of pixels in either the height or width field. Since the two fields are linked, adjusting one will automatically scale both accordingly.
- Click OK to confirm your edits.
Editing Image Resolution with Preview for macOS
For those of you with a Mac computer, Preview for macOS offers basic image editing features that are built into your device.
Here’s how you can use Preview to increase image size and resolution:
- Right-click on the photo file you want to edit.
- Select “Open With” and click on “Preview.”
- Within Preview, select “Tools” from the header.
- Click “Adjust Size” from the dropdown menu.
- Check that the lock icon is closed to ensure the image scales proportionally.
- Edit the number of pixels in the width or height of the image to fit your size preferences.
- Save the resized image to replace the original–or select “Export” in the file menu to save the new higher resolution version separately.
Use Pixelcut to Increase the Resolution of Any Photo in Seconds
Photoshop and similar programs can increase image resolution, but the results are nowhere near as easy or quick as you might like.
With Pixelcut’s fast and easy-to-use app, editing your images has never been so simple and fun. From accurate background removal to colorizing black and white photos, our mobile app and online editing tools give you the power to retouch, resize, and restyle your digital images.
The best part? The image upscale tool is available online for free. All you need to do is upload your image and Pixelcut will take care of the rest!
You can use Pixelcut’s photo editor to do a lot more than just resize an image. Once you’ve scaled up your photo, you can play around with Pixelcut’s range of powerful, user-friendly editing tools to get just the right visual effect. This includes colorizing black and white images, changing the background of your photo, and even removing unwanted objects or photobombers.
Plus, Pixelcut’s mobile app for Android and iOS offers a huge variety of professional templates, presets, backgrounds, and collages—perfect for creating visuals for your next social media campaign, upgrading your LinkedIn headshot, or elevating your product photos.
See for yourself how easy it is to edit images with Pixelcut. Create your free account today and turn any photo into a high-resolution image with just a few clicks.
Ready to start creating with Pixelcut?
Join more than 70 million small businesses, creators and entrepreneurs that use Pixelcut to grow their business.