Food Photography: From Plating to Editing Final Touches
Food photography is an art form that requires skill and knowledge to master. In today’s digital age, the demand for high-quality food images has skyrocketed, with over 250 million photos posted monthly on Instagram. For aspiring photographers, capturing mouth-watering food photographs can be challenging – but it doesn’t have to be.
With some basic tips and tricks, you can learn how to create stunning images of your favorite dishes like a pro. From plating and styling to editing final touches, this guide will teach you everything you need to know about taking beautiful pictures of food.
Food Photos Are About Visuals, Not Taste.
Before you even pick up your camera, it’s important to remember that food photography is all about visuals. A great image should make the viewer want to take a bite and savor the dish's flavor, not actually taste it. As such, strive for gorgeous aesthetics without sacrificing realistic looks.
One excellent trick to make your food photography look delicious is to shoot the food full-bodied. This means capturing the whole dish when it's hot–that's when the food appears in its original form. When the food loses its heat, it also loses shape and looks dull. You want to create an inviting and charming experience – not intimidating or off-putting.
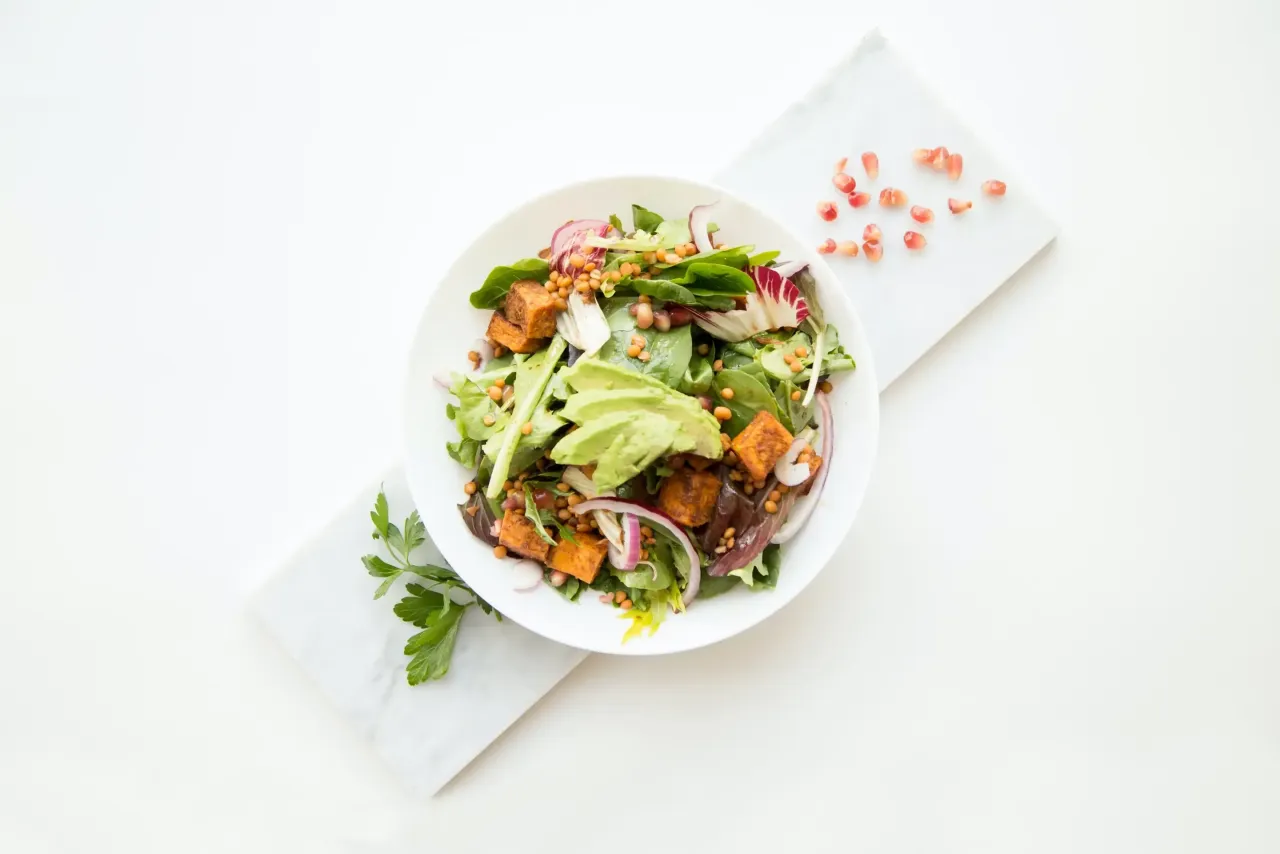
Another way to provide an excellent visual experience is to add colors. Food naturally has a variety of colors, so take advantage of the natural hues. Remember that vibrant and contrasting colors often appeal to viewers more than duller shades. You can add extra sides and props to add colors if the food is not vibrant.
What Equipment Should You Use?
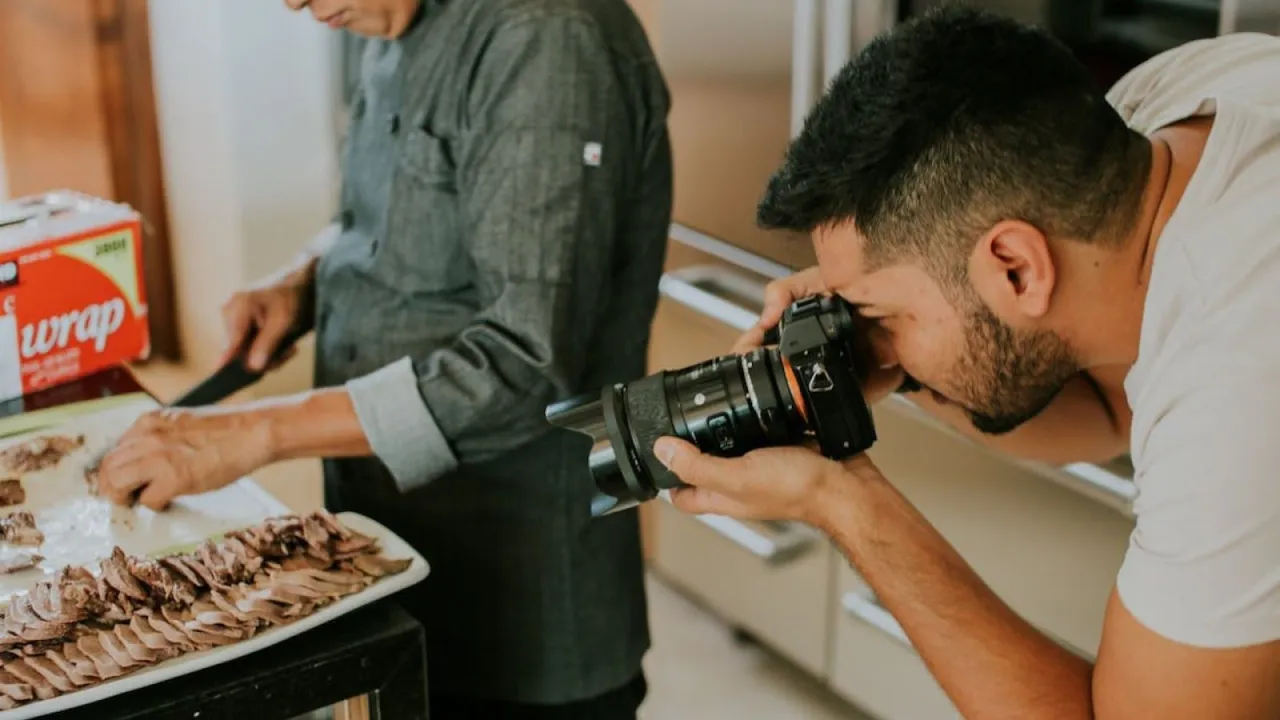
The right equipment is necessary to take your food photography to the next level. Here are some of the basics that every aspiring food photographer should have in their arsenal:
- Camera: You can use a DSLR camera, a point-and-shoot camera, or a high-resolution smartphone camera.
- Lenses: A 50mm or 85mm prime lens for DSLR cameras is great for capturing beautiful bokeh.
- Lighting: Natural light is best for food photography, but artificial light can also be used if you don’t have access to natural light. If using artificial light, it’s best to invest in a lightbox or softbox.
- Tripod: A tripod can come in handy when taking sharp, clear images.
- Reflector: A reflector is a great tool for adding light to dark areas of your photos and adding depth and contrast to your images.
- Backdrops: A backdrop can give your photos a unique and creative look. You can use fabric, paper, or a sheet of white foam board for a clean, professional look.
- Props: Adding props can help give your photos a professional look and feel. You can use anything from dishes to silverware, napkins, tablecloths, and more.
Food Photography Good Enough To Eat
Food photography is an art form that has long been used to tantalize taste buds. Whether you’re a home cook, professional chef, or food blogger, here are seven tips to showcase your food so that everyone will want it.
Prepare The Food For Photography
When shooting food photography, you should always prepare the food in advance. This means taking the time to season and arrange your ingredients to reflect the intended dish properly. It’s also important to plate the food in a way that looks aesthetically pleasing. Experiment with different plating techniques to create an attractive and eye-catching presentation.
Select Your Hero
The hero of any food photography shoot is the star ingredient. This could be an impressive cut of steak, a freshly made tart, or a colorful plate of vegetables. Make sure to emphasize this main element by giving it the most attention in your shot. Use props and other elements to enhance the hero's appearance, like adding herbs for garnish or a splash of sauce to a plate.
Try Different Lighting Styles
Lighting is a key element when it comes to food photography. Different lighting in photography can create different moods and atmospheres, making your dish look even more delicious! Experiment with natural light from windows or doors, diffused light from lamps, and artificial light from strobes or flashes.
You can also explore the power of shadows by narrowing down certain parts of your subject for dramatic emphasis. With a bit of creativity, you can create the perfect lighting setup that will make your food photos look even more mouth-watering.
Remember To Dress Off The Plate Too
Dressing off the plate is one of the best ways to make your food photography stand out. This involves adding props, like napkins, silverware, or even small bouquets, to add color and texture to the shot.
Think about how you can use props to bring out the colors and flavors in the dish – if your main ingredient is green, adding bright yellow flowers will make it pop. Just keep the props fairly minimal – too many items can distract the eye.
Purposefully Use Depth Of Field
Depth of field (DOF) is an essential tool in the food photographer's arsenal, allowing you to artfully draw the viewer's attention to one particular element or create a dreamy, ethereal atmosphere. By controlling which parts of your photo are in focus and which parts aren't, you can create a sense of depth and highlight certain elements in the frame.
DOF is typically achieved by adjusting your camera's aperture setting (or "f-stop"). A smaller f-stop (e.g., 1.4 or 2.8) results in a shallow depth of field, meaning that only one particular element will be sharply in focus, and everything else will fall into a beautiful blur. A larger f-stop (e.g., 11 or 22) will create a deep depth of field where the entire image is focused, and nothing gets left out.
Experimenting with different aperture settings can be fun and yield stunning results, so don't hesitate to play around with your camera's settings and see what you can come up with.
Try Close And Long Shots
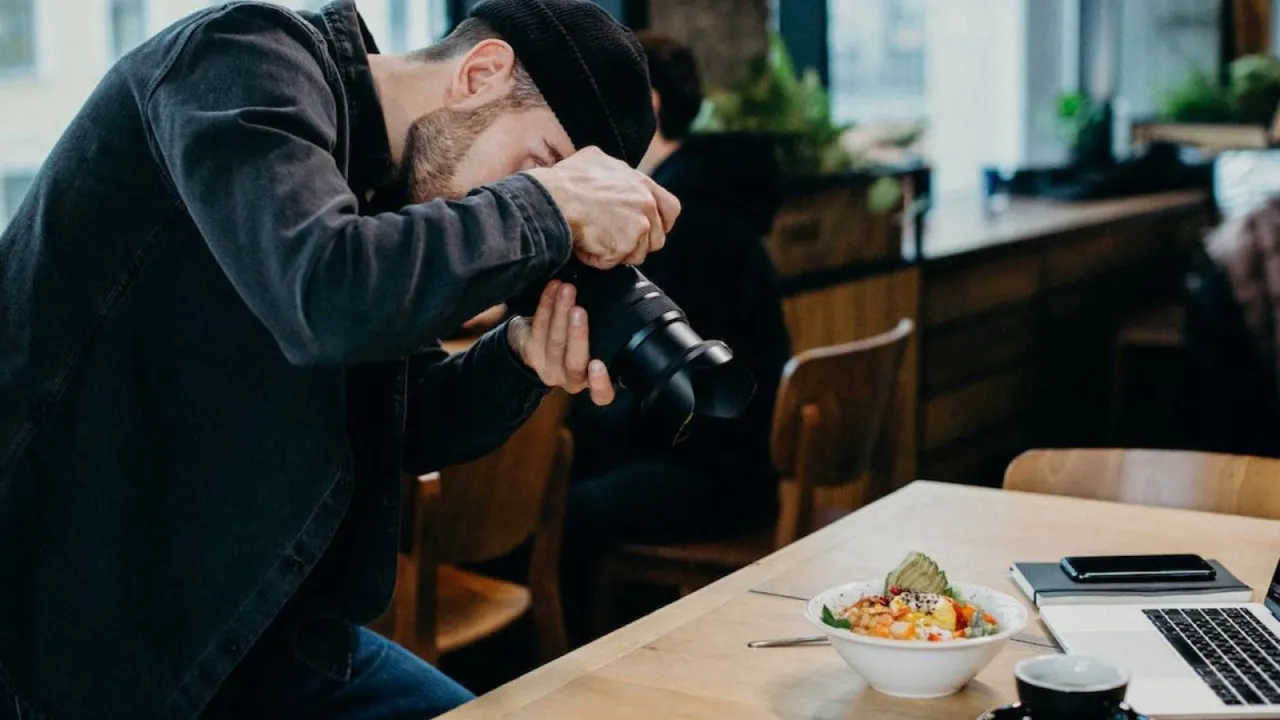
Close shots are great for getting the details of a dish, like the texture of the food's surface. Long shots provide an overall view of how a dish is presented and can also be used to create interesting visual effects with angles or props. You can mix up close and long shots to create variety in your food photography.
You can start with a long shot of the table setting and then move in for close-ups of individual dishes. This can add depth to your photos and make them attractive.
Add Layers To Your Shots
Adding layers can drastically improve your food photography and make it stand out. Think about what you want to feature in the shot, such as a plate of food with multiple items on top or a cupcake with different elements like sprinkles and icing. You could even add props to your shot, such as an interesting backdrop, tablecloth, or napkin.
Layering will help you create depth and texture, allowing the viewer to explore more of your composition. When adding layers, it’s important to use colors that complement each other rather than clash.
This technique is only a small part of product staging. Learn all about it to make your food photos look unique and inviting.
Using Pixelcut To Edit
The photography tips mentioned above are sure to amp up your game. But editing photos is a much-needed part, no matter how good the original photos are. Pixelcut is an online AI edit tool that can help you with its user-friendly interface, powerful features, and deep learning technology.
Here are several Pixelcut tools you should include in your photography routine.
Image Upscaler
Pixelcut's Image Upscaler feature helps you enhance the resolution of your images without losing quality. This increases the sharpness and clarity of the photo, giving it a more professional look.
Batch Editor
The batch editor allows you to edit multiple images in one go. You can save a lot of time and effort by removing the background of multiple images at once and replacing it with a solid color. You have to simply drag and drop images from your computer, and the tool will do the work for you.
Background Remover
Pixelcut's background remover tool helps you easily remove the background from an image. This is especially useful if you need to replace it with a solid color or another image. The AI-powered tool accurately detects the edges of your image and removes the background with just one click.
You can not use the image with a transparent background. That's why you should also know how to add a background to any photo effectively, so it looks natural.
Key Takeaways
Food photography is an art form, and it can be quite a challenge to get it right. But with the right techniques, you can create amazing food photos that will make people drool.
Here are key points you must remember when taking food photographs:
- Camera, lenses, lighting equipment, tripod, backdrop, and props are essential for food photography.
- Try different lighting styles like natural, diffused, rim light, etc.
- Experiment with different aperture settings to create a shallow or deep depth of field.
- Use a combination of close and long shots to capture the food essence in every way.
- Create depth and texture in your photos by adding layers of colors that complement each other, and master product staging techniques to add depth to your photos.
- For convenient editing, use Pixelcut’s Image Upscaler, Batch Editor, and Background Remover tools.
Are you a food photographer looking to take your photos to the next level? Pixelcut's AI-powered editing tools are designed to make your editing process easier and faster, so you can focus on creativity. Try Pixelcut today and see the difference it makes in your food photography.
Ready to start creating with Pixelcut?
Join more than 70 million small businesses, creators and entrepreneurs that use Pixelcut to grow their business.