Product Photography Lighting for Beginners
If there’s one thing eCommerce businesses need it’s high-quality images. There are, however, few business owners who get their product photography lighting right. There are shadows where there shouldn’t be. Parts of the product are reflected. Whatever the issue, it’s detracting from the quality of the product. That’s why learning what the best options for product photography lighting are will put you in the best possible position.
Why Should You Invest In A Professional Product Photography Setup?
Investing in a professional product photography setup can have a significant impact on the quality of your product images. Better images can massively contribute to your company's success. If you can create images that are both visually stunning and informative by using high-quality equipment and techniques, then you can showcase your products in the best possible light.
If you’re able to produce the best possible images after investing in a professional setup you will:
- Increase sales: Your pictures are going to be what sells your product. They need to stand out, they need to be noticeable, and they need to be memorable. Without superb-quality images, you’re missing out on great sales opportunities.
- Improve brand image: Your product images become a source of judgment for your brand. People will make snap decisions based on their first impression of your product photography. If they look great, chances are you are legit and can be trusted. If they’re amateur, it says the same about the company.
- Save yourself time and money: It might not seem it initially given the expense of the equipment, but in the long run, you’ll be saving money on professional photographers and the additional time of setting up and organizing shoots.
Product Photography Lighting Equipment Explained
You’d be forgiven for feeling a bit overwhelmed by all of the various pieces of equipment that photographers talk about and seem to use on shoots. The following list should clear things up for you!
Continuous Lights
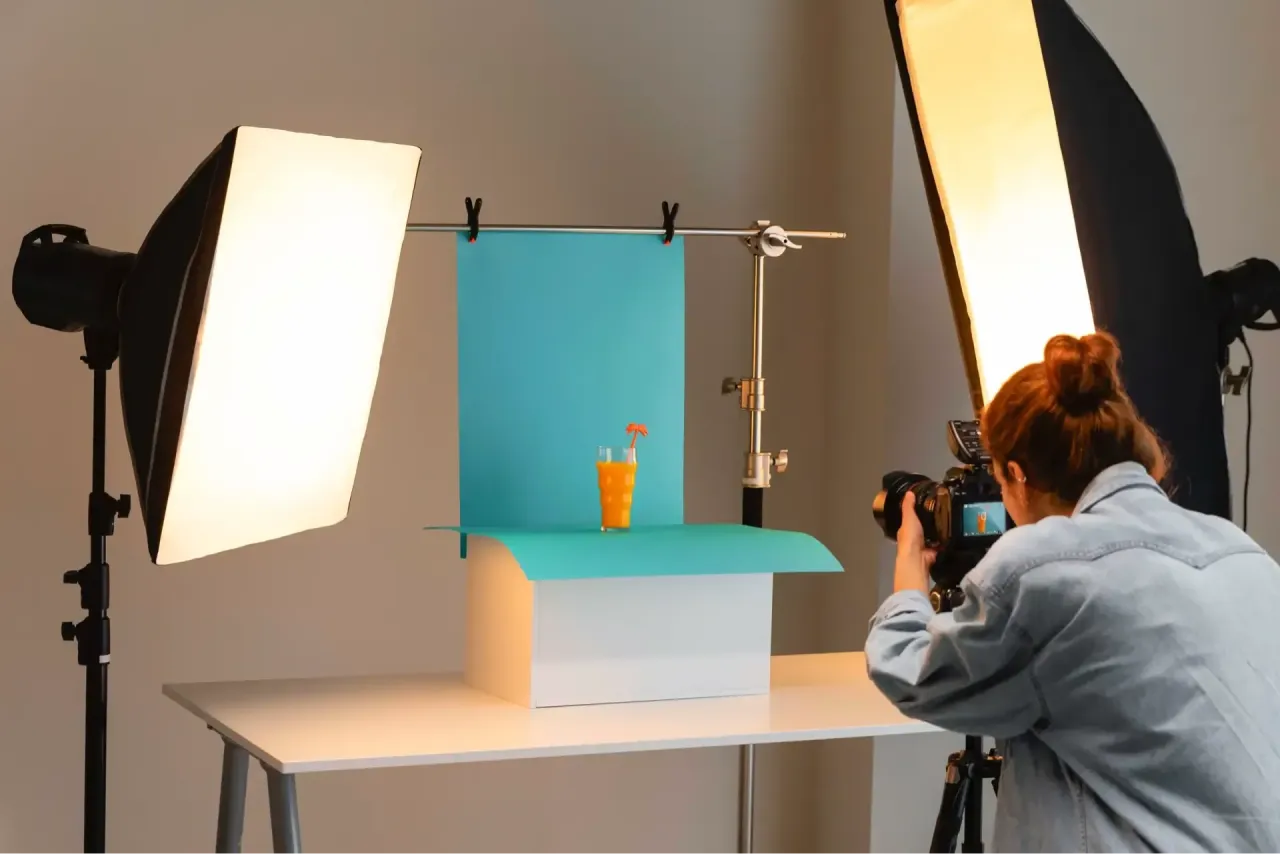
Continuous lights are a type of light that produces a constant, uninterrupted light source. Often continuous lights are used as a contrast to flash lighting. Flash lighting provides a brief burst of light, whereas continuous lighting lets you see precisely how the light is falling on your subject in real-time. If you’re going to be photographing products it makes for an excellent choice. Even more so if you’re a beginner and you simply aren’t experienced enough to work with complex lighting setups.
With continuous lighting, you're able to adjust the light easily and the results are apparent immediately. That means you can pick out specific highlights on products while maintaining consistent, even lighting throughout the various shots that you take. Rather than moving the object, you can easily move the light around the subject until you reach perfection.
It’s certainly one of the more affordable options for product photography lighting, which, again, makes it appealing to those just starting out.
External Flashes
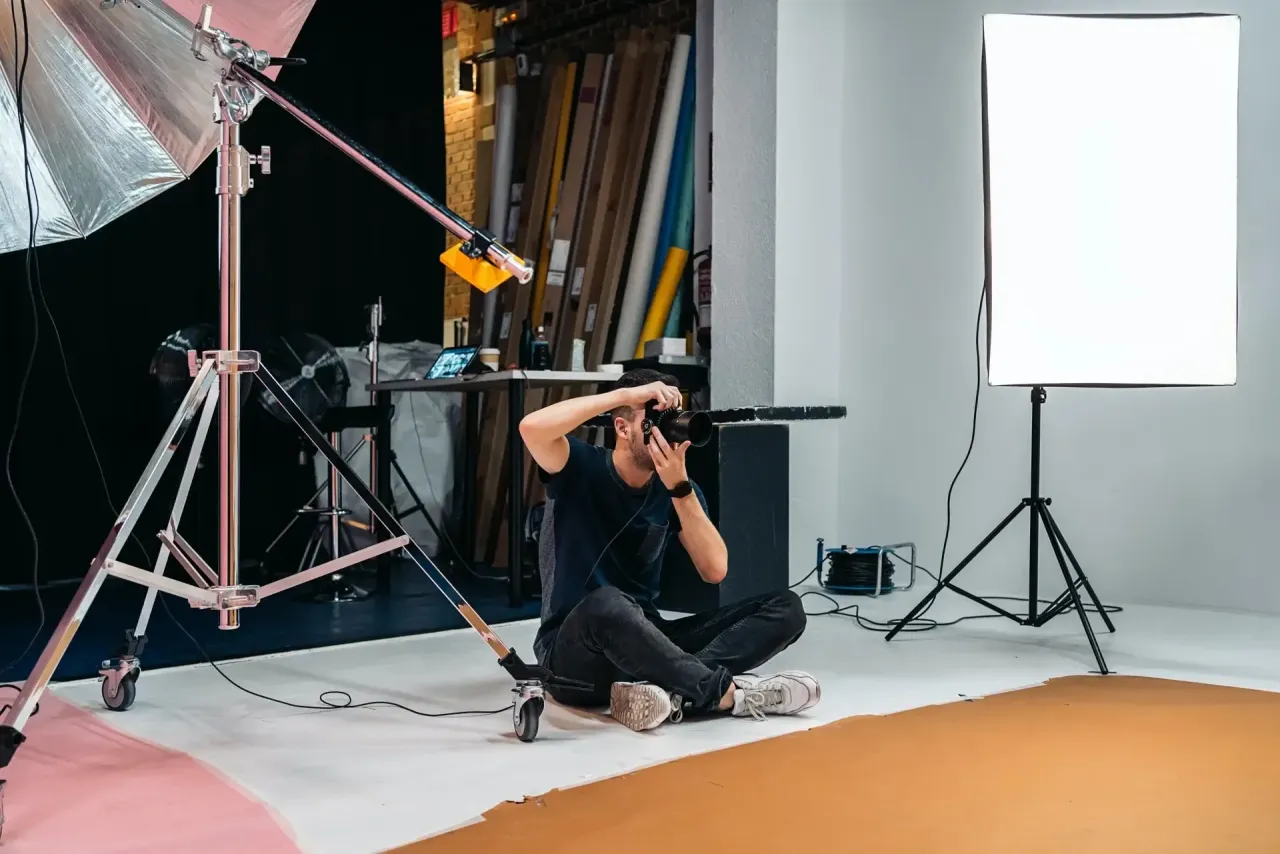
External flashes, also known as speedlights or hot shoe flashes, are light sources that are attached to your camera. They produce a burst of bright light that can be used to illuminate your subject while also creating a more dramatic effect than continuous lighting.
External flashes have the advantage of being portable and versatile meaning they can be used in a variety of settings. It also makes them an excellent choice for on-location product photography. Photographers tend to use external flashes to create a more dynamic lighting setup by adding light sources to create shadows and highlights.
External flashes also give you more control over the light's direction and intensity. Thanks to this you can create a more personalized lighting setup for your products. They are, however, a more expensive option than continuous lighting and often require even more equipment to get the desired outcome.
Diffusers
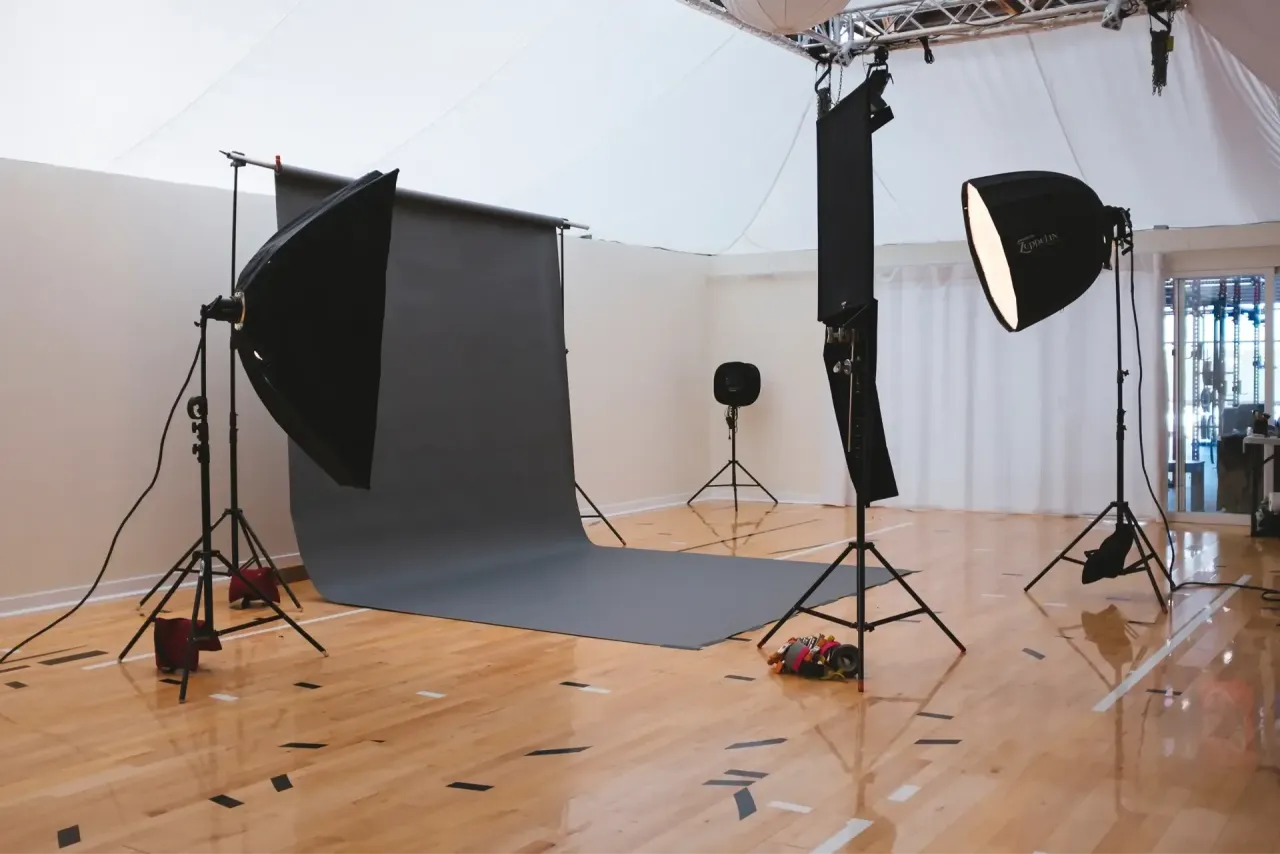
Photographers use diffusers to soften light sources and reduce harsh shadows. This results in more even and natural lighting. Diffusers achieve this effect by scattering light and creating a larger light source, this reduces harsh reflections and bright spots on the product.
There are many different types of diffusers. Softboxes are often seen in studios to spread softer light over larger areas. Umbrellas are extremely portable and perfect for location shooting. Diffuser panels are robust and useful for covering natural light sources such as windows.
If your products are made of metal, or glass, or have any reflective surfaces, diffusers are a must-have part of your setup. The same applies if you have backgrounds that are reflective. If you really can’t get the background to play ball, you could always edit the photo background at a later date.
Reflectors
Reflectors bounce light onto your subject and create a more even and balanced lighting setup. They function by reflecting light back onto your subject, filling in shadows, and reducing harsh contrast.
Typically they come in one of four styles:
- Silver: For bright, natural reflection.
- Gold: For warm tones.
- White: For soft and natural reflections.
- Black: To increase contrast through light absorption.
If you’re struggling with shadows in your photos, using a reflector is likely your best course of action.
Alongside all of the equipment above, it’s important that you consider the editing process. You’ll definitely want to learn how to clean up pictures once they’ve been taken. There are lots of expensive photo editing software options on the market, some of which will cost more than your actual photography setup. Remember that you don’t have to start with these, there are lots of cost-effective and incredibly powerful photo editing apps out there which make for the perfect place to start.
Product Photography Lighting On A Budget
If you’re struggling with the mounting cost of all of this equipment you’re certainly not alone. That’s why many photographers have come up with budget-friendly solutions to try and save a few dollars.
- Natural light: Shooting near a window or outside can provide a free and beautiful light source for creating stunning product images. You definitely need to think about the time of day, the position of the sun, and any potential shadows that may be cast.
- White Foam Board: Using a white foam board means you can bounce natural light onto your subject, resulting in a more even and flattering lighting setup. It's a low-cost option that allows you to fill in shadows and reduce harsh contrast.
- DIY Lightbox: Creating a DIY lightbox is relatively easy and is certainly cost-effective. All you need are a few cardboard boxes and white tissue paper. Using one provides a soft and diffuse light source for your product photography. If your products are small or handheld, this could be a great option.
- Household Lamps: By strategically positioning household lamps to illuminate your subject, you can create a simple and effective lighting setup. It's critical to consider the type of bulb and color temperature, as well as any potential shadows.
Key Takeaways
Getting started with product photography is no easy task. It’ll take you a lot of time and effort to get going but once you’ve got your setup in place and you’re able to take professional quality images yourself, you’ll be reaping the benefits.
- Starting with a continuous lighting setup is going to be a great start for new photographers.
- There are options out there for people on a tight budget.
- Using photo editing apps is a great place to start before investing in expensive software.
Good luck with your setup! Once you’ve achieved what you’d like with the raw shots, why not see just how beautiful they can look by using the Pixelcut upscaler tool?
Ready to start creating with Pixelcut?
Join more than 70 million small businesses, creators and entrepreneurs that use Pixelcut to grow their business.