Real Estate Photography Tips to Increase Curb Appeal
People want to get the best possible price for their property and it’s the photos that first catch a prospective buyer’s eye. The thing is, knowing how to get started and achieve the best for clients isn’t always easy. That’s why we’ve compiled this guide that covers all of the real estate photography tips you’ll need.
What Do You Need To Get Started In Real Estate Photography?
Getting started in real estate photography can feel pretty intimidating. There’s a whole lot of equipment within the world of photography and knowing just what’s necessary for a beginner can be something of a minefield. These pieces should get you started.
Invest In A DSLR
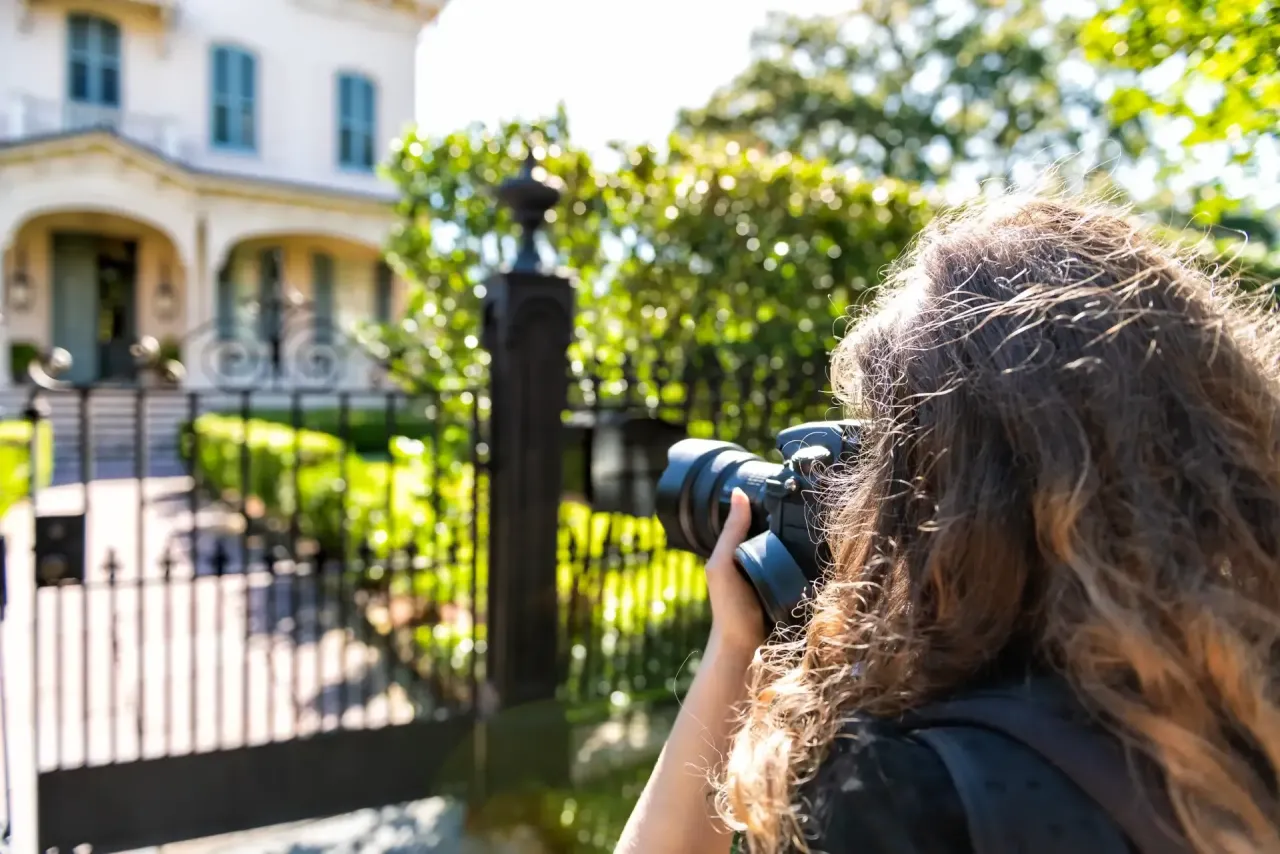
Using a genuine DSLR camera with a set of lenses will put you in the best possible position to take great shots. Using your phone is a no-go. Yes, they take great-looking pictures these days, but the quality of the image is nothing in comparison to a DSLR. Remember, people are relying on these images to sell their homes. They want the best possible shots, and that starts with your camera.
DSLRs aren’t just about quality. They also have a seemingly endless variety of settings that allow you to take a huge number of different shots. Plus the raw images they produce can be edited far more. You’ll also want to be sure that you invest in a wide-angle lens. If you’re shooting rooms, including potentially narrow or small spaces, there’s no other option.
Don’t Use Your Hands - Tripods and Remotes
Holding the camera yourself is not a great choice for real estate photography. Even the smallest of movements can cause distortion. The best option is to not rely on how steady your hand is, and instead use a tripod to hold the camera. There are hundreds on the market, some smaller and great for use in tight spaces, others larger and sturdier for larger spots. Whichever you use, it’ll be a better choice than holding the camera.
Remotes are the next step, without a remote you still have to press a button to get the shot. Using a remote means you don’t touch the camera at all. You align your shot, step back (perhaps even out of the room), and click your remote. Voila! The shot is taken.
Flashes
Having a flash is really helpful in real estate photography. Sometimes the weather goes against you, other times the property itself isn’t the photographer's friend. The key is to try and make the best, and lighting can often be helped through the use of flashes. As with the remotes above, you can also trigger flashes remotely to keep the light steady.
Drones
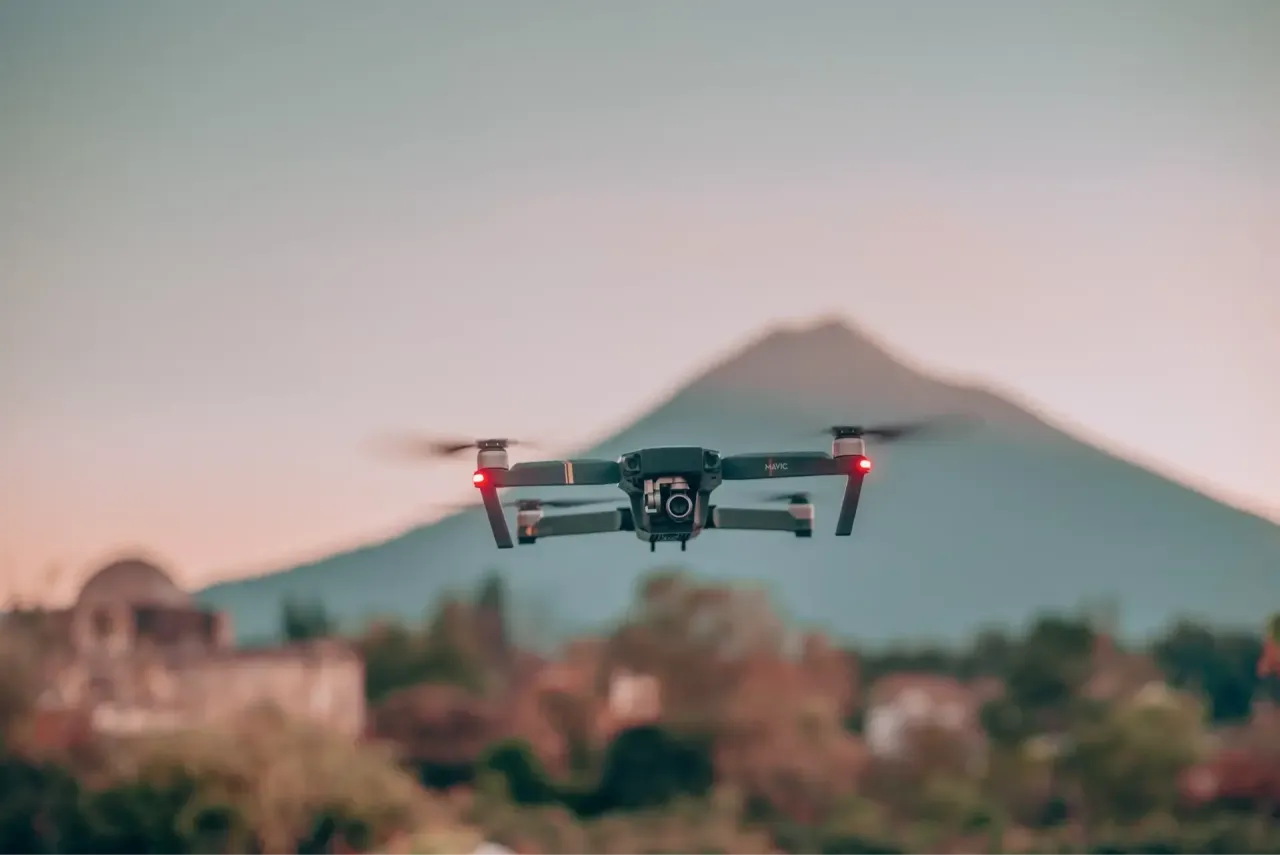
Not a necessity for a beginner, but certainly becoming more and more popular. Many homeowners are expecting drone shots of their homes, or at least would be very happy to have one taken. They are expensive pieces of kit, but you’ll be able to charge more of a premium for your service if you have one in your arsenal.
Real Estate Photography Tips
The following tips focus on everything from preparation to the photos themselves. Bookmark this list, you’ll want to come back to it time and time again!
Study The Property And Quiz The Agent
Getting to know the property before the shoot is a must. You can start with the floor plan if there is one, but better yet you should scope out the property with a visit. This gives you a chance to discuss the property with the owner, and you’ll get a feel of where the best shots will be taken. If that’s not possible, make sure to quiz the real estate agent about the property before you get there. They’ll know what the client will like, plus they should know the house.
Ready Your Kit
There’s nothing worse than turning up to a shoot with 20% battery and a full memory card. Make sure that you charge everything the day before, and turn up with a few empty memory cards. It’s far better to air on the side of caution rather than risk it.
Request The Property Be Presented
It sounds simple, but asking for the property to be tidy and well-presented is something you should actually request. It also serves as a nice reminder to the occupants that you’re coming over. If you do turn up to a property that isn’t tidy or presented, first contact the agent and let them know. If they’re happy for you to proceed, do the best that you can and move objects around. You might even be able to use some photo editing apps to remove unmovable objects.
Book The Right Time
Timing is crucial. You want the front of the house lit properly with the sun facing it, or at least not behind it. It also counts internally. You should be able to work out the best time to visit from the property's orientation.
Let In The Light
Light is the photographer’s best friend. Used the right way, you’ll create stunning shots. Open up the curtains, pull up the blinds, and let it flood in. You’ll get a far better photo that way than using only electrical lights. That said, when taking external shots, make sure you turn all the lights on. It creates a lived-in, warm feeling.
Always Edit Your Shots
It’s unlikely that you’re going to get a perfect shot straight from the camera. Instead, you’ll likely get a great shot that with editing will look amazing. Using tools that can increase the resolution of an image or upscale them is a great way to increase quality.
Make Sure No-One Is Around
Real estate photographs should focus on the property. Not the current occupants. Make sure that you’re able to take your time in the property without feeling rushed, that makes everyone should be out and you’re left to your own devices. If that’s not possible you could always try and remove the person from the photo.
Try Various Angles
People will naturally want to see rooms in the property from various angles to get a good feel for the home. So make sure you take photos from multiple angles of the same room. The same goes for particular shots, taking shots from up high, or lower positions can change the look and feel of a room.
Key Takeaways
This list of tips should be enough to get you started, or at least provide some insight into what it’s like to be a real estate photographer. The trick is to get started quickly, learn through doing, and expect it to take plenty of practice before you get some brilliant-looking shots.
- Invest in the best possible camera you can, this is what everything comes back to.
- Don’t be afraid to edit your shots.
- Use equipment to supplement your lighting if natural isn’t enough.
There’s an ever growing array of incredible editing tools provided by Pixelcut. If you’re keen to achieve fantastic shots, you’ll want to check them out!
Ready to start creating with Pixelcut?
Join more than 70 million small businesses, creators and entrepreneurs that use Pixelcut to grow their business.